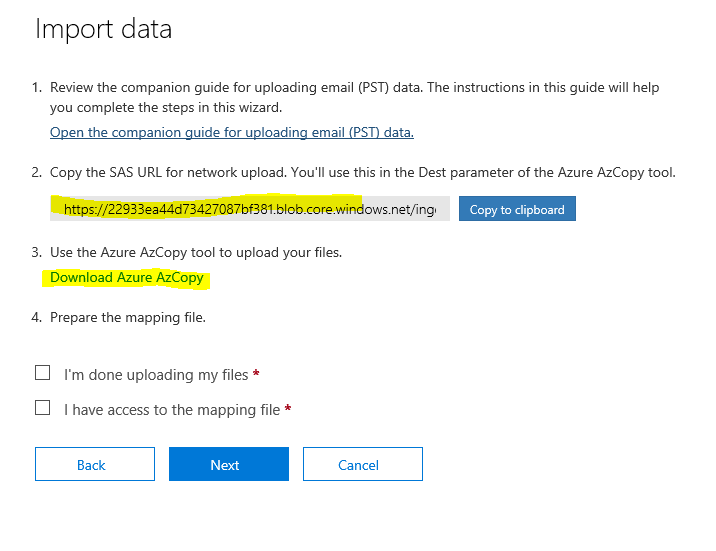
Once the Files are finished uploading to Azure create your PST Import mapping file based on the sample provided here
Your Csv should look similar to the image below(An questions about the fields can be answered here.)
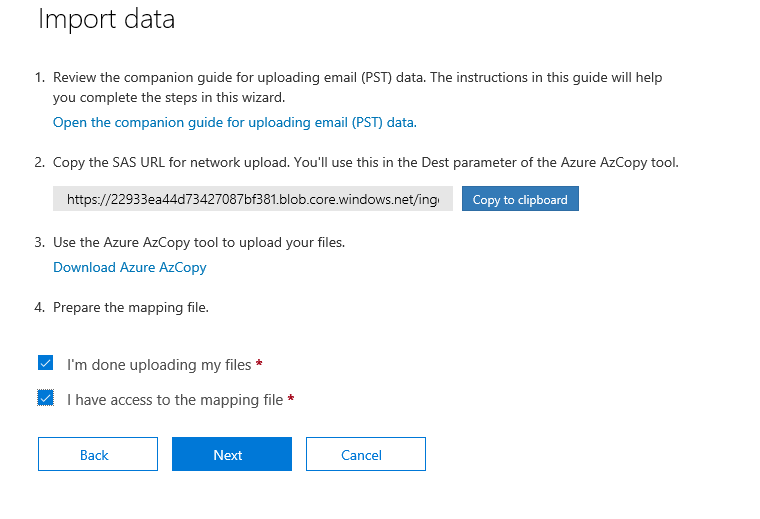
Once the PST have been uploaded and the csv file is filled out, go back to the Import wizard and check the boxes signifying that the files have been uploaded and you have access to the mapping file and click Next
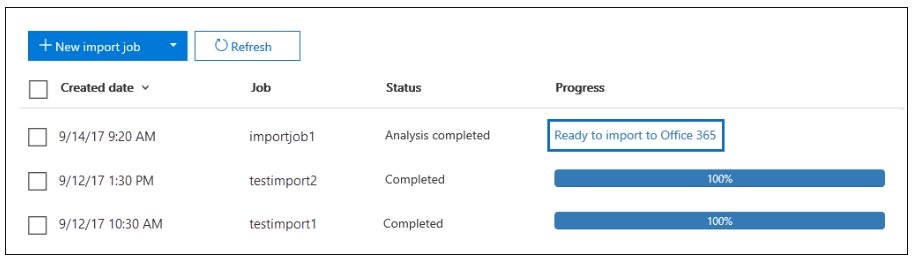
Office365 will do a quick analysis of the csv and then show Ready to Import to Office 365
When you click on Import to Office 365 it will give you an option of whether you want to filter the data or import everthing. Most of the time you will want to select import everything.